

DIY Fabric Pumpkin with Real Stem
Eeekk! Pumpkin decor for Halloween is always a festive away to get into the spooky season. Pumpkins are also an easy way to then transition right into Thanksgiving. I keep my pumpkins up all throughout October and November. So, it’s nice to have pumpkin decor that will last, well, forever! And fabric can easily do that trick! This DIY fabric pumpkin tutorial is so, so easy! If you don’t know how to sew, there is no excuse because this is a great beginner project! Also, if you have children who want to learn how to sew, this is also a great project for them to take on. Easy like learning how to tie a shoe. This DIY fabric pumpkins are also so cute! You can really get creative on the fabric choices. I had the black and white fabric laying around so I decided to stick with those fabrics and go with a more modern approach to making the pumpkins. The pumpkins are then finished off with a real pumpkin stems so it gives it a cute creative twist and brings them more to life.
DIY Fabric Pumpkin How To
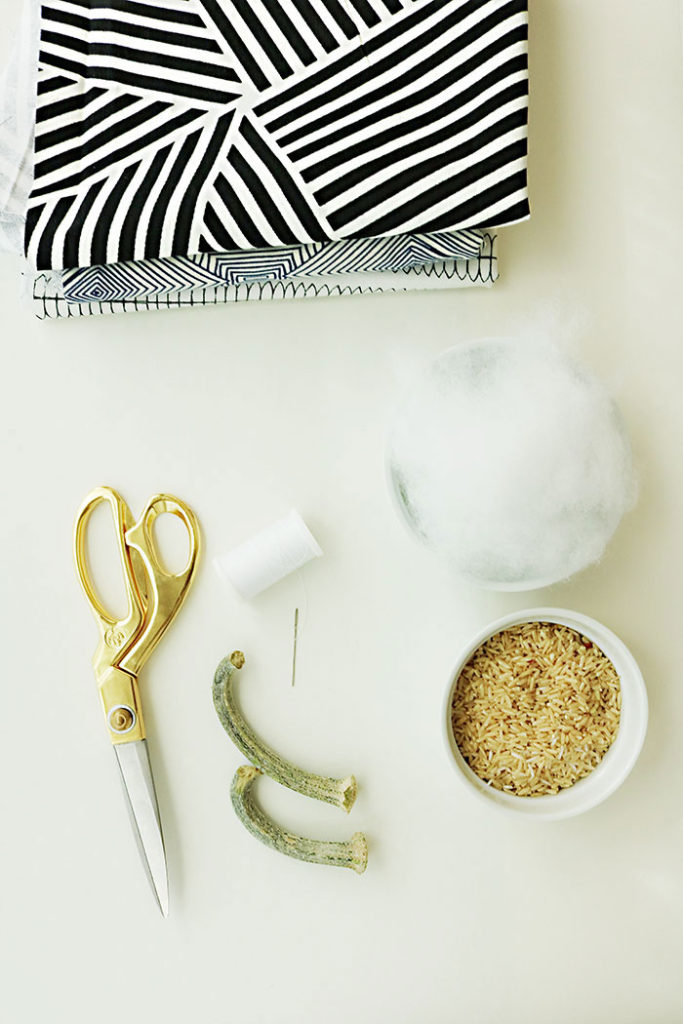
Supplies for DIY Fabric Pumpkin
fabric–cotton, velvet works great too. Not too heavy of fabric
pumpkin stems
rice or beans
fiber filler
scissors
needles
thread
hot glue
Instructions for DIY Fabric Pumpkin
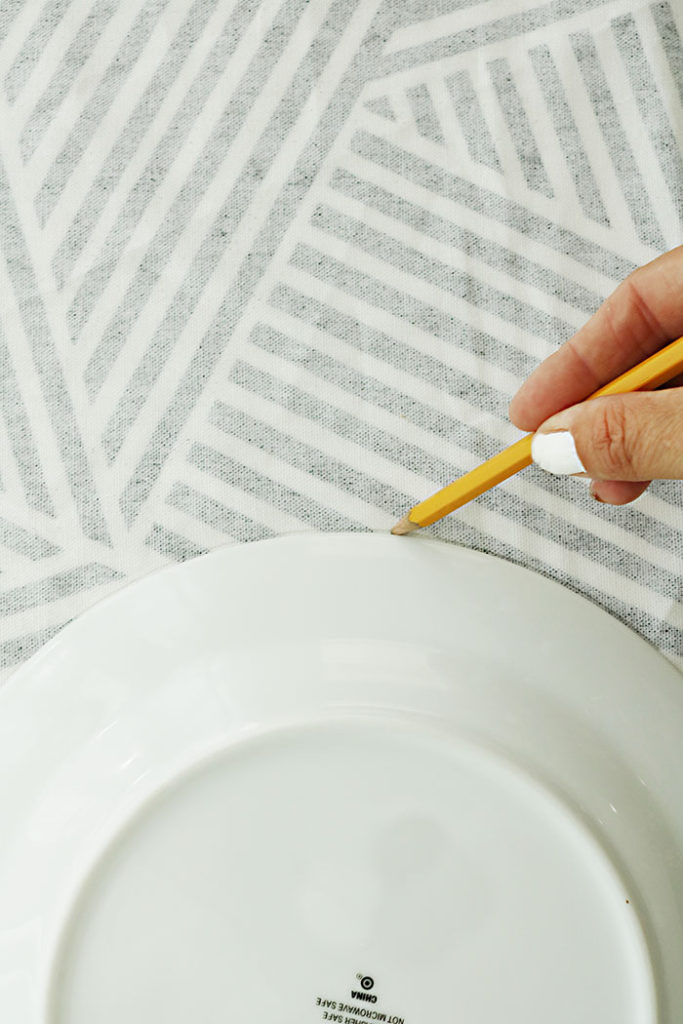
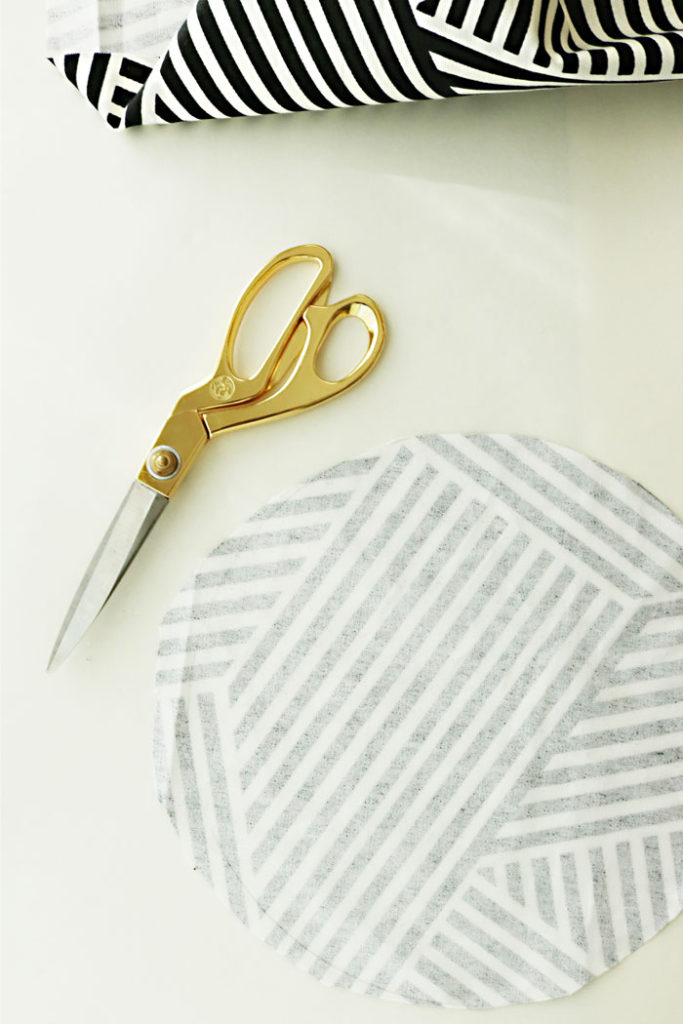
- Cut a 9″ or greater circle out of your choice of fabric. I used a plate for my guide. Use anything circular to trace, but I suggest not to go smaller than 9″ (unless you want a really small pumpkin). The smaller pumpkins pictured are made from a 9″ circle. The larger ones are made from a 12″ circle.
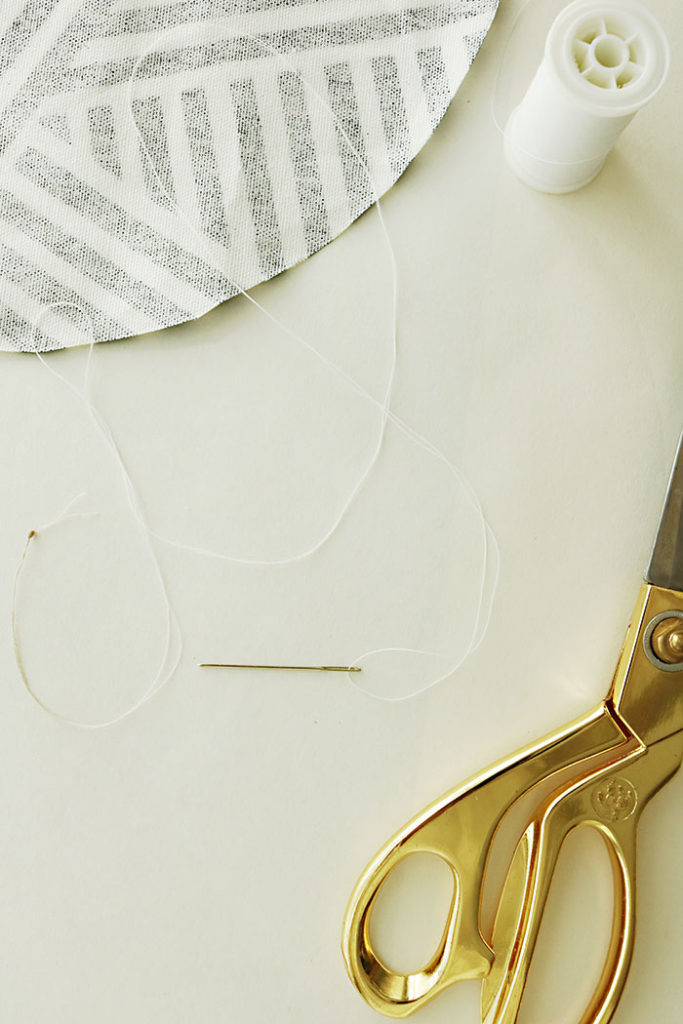
- Cut a long piece of thread, then thread your needle bringing the ends together. Double knot the two ends together. This will make the stitching a stronger hold.
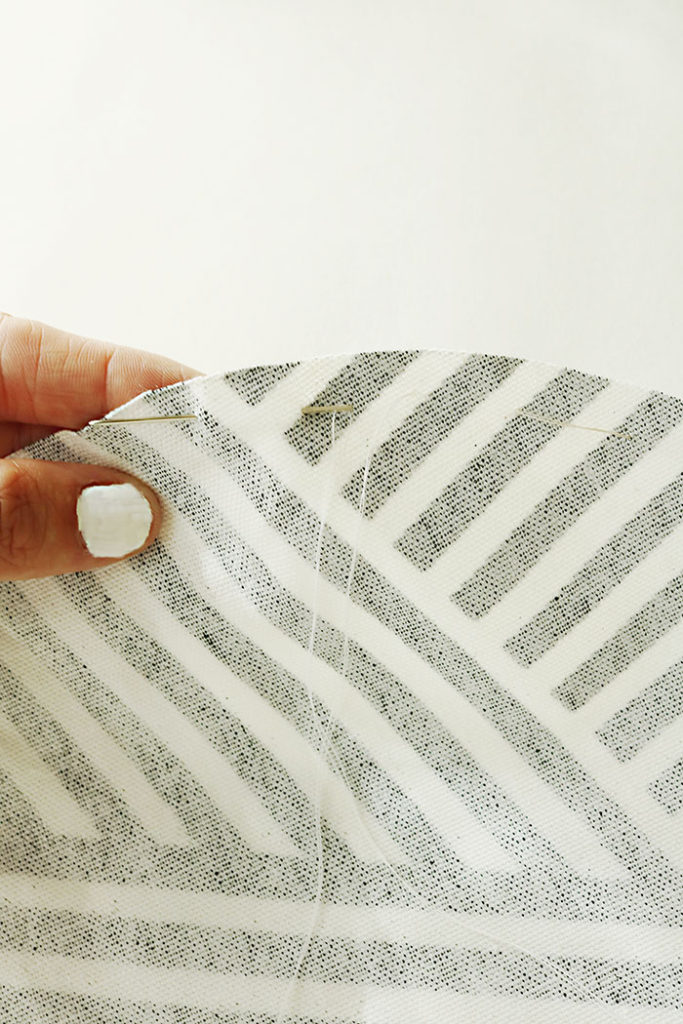
3. Taking your circle fabric, you will baste stitch all around the edge of the circle, making long stitches. To baste stitch, you pull the needle and thread through the fabric, so there is a knot on one side and all the thread is on the opposite side of the fabric. Then insert your needle in the fabric to the underside and then bring the needle back up to the front side, like pictured. Then pull and the thread will follow through the stitch. Repeat until you have baste stitch all around the edge of the circle.
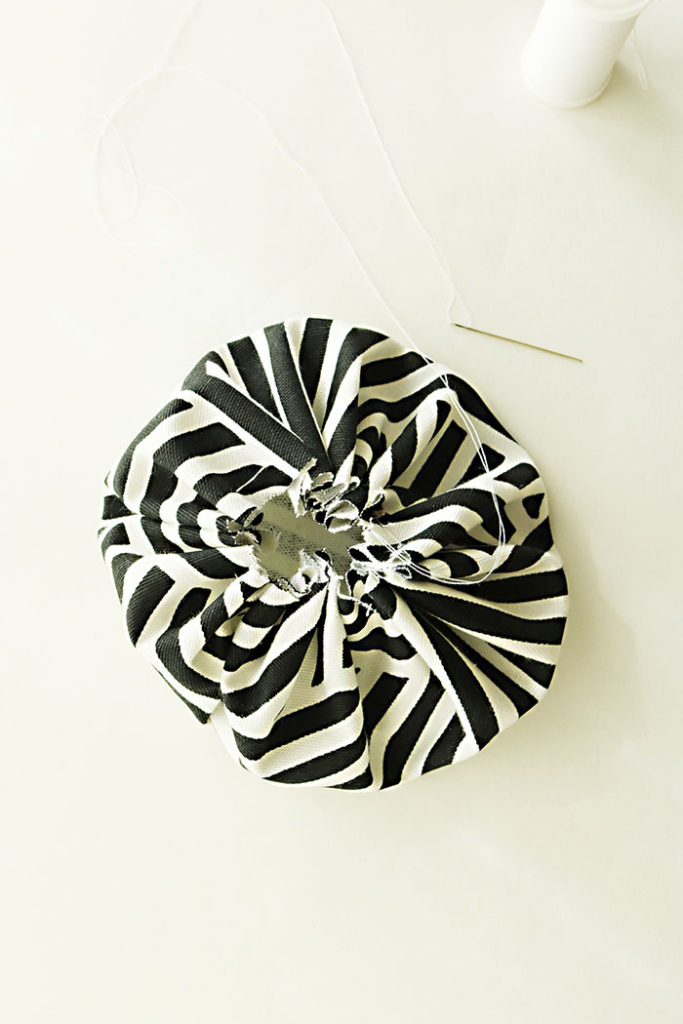
4. Now you may see that the stitch is trying to pull. Cinch the fabric together so you get a good gathering of fabric. Keep the thread and needle attached!
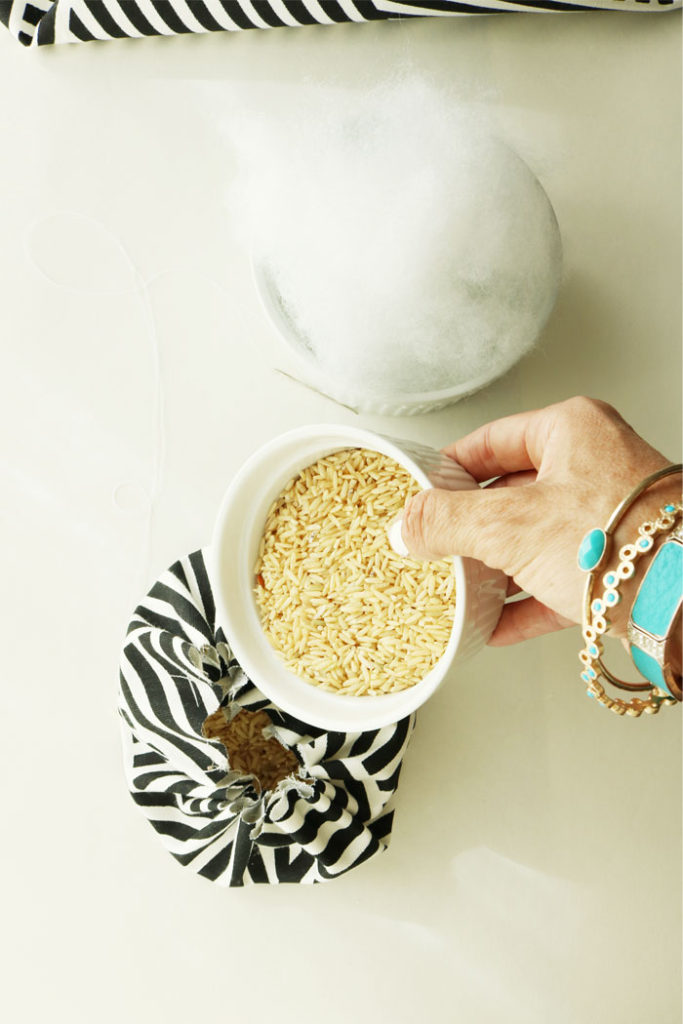
5. Leave the end open and fill about 2/3 with rice or beans. With the rest of the space, fill with fiberfill until you get a good plump pumpkin.
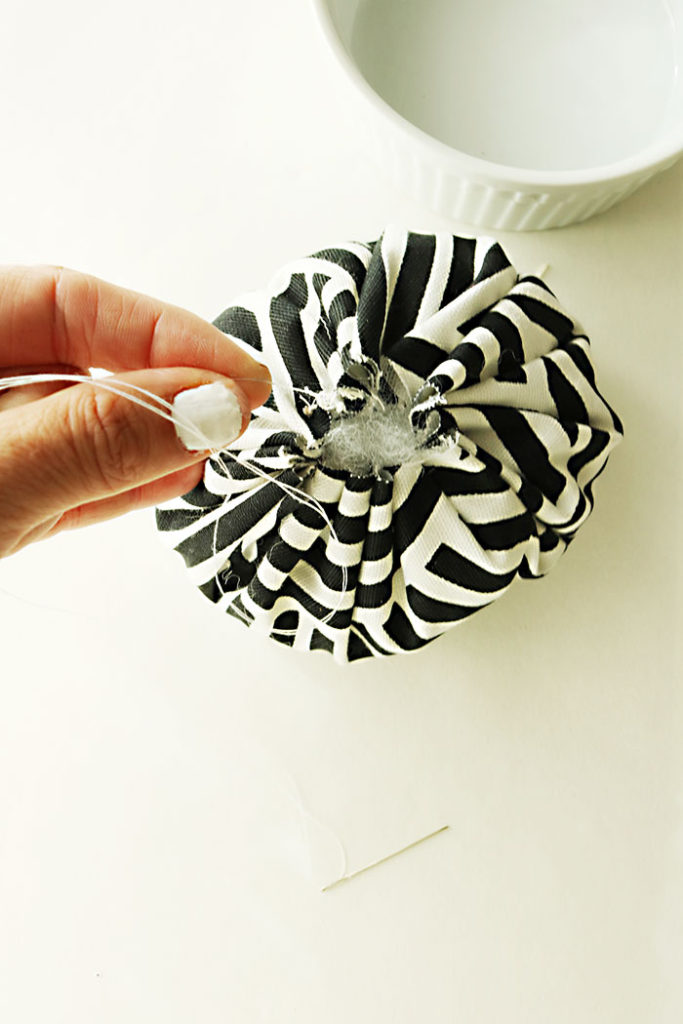
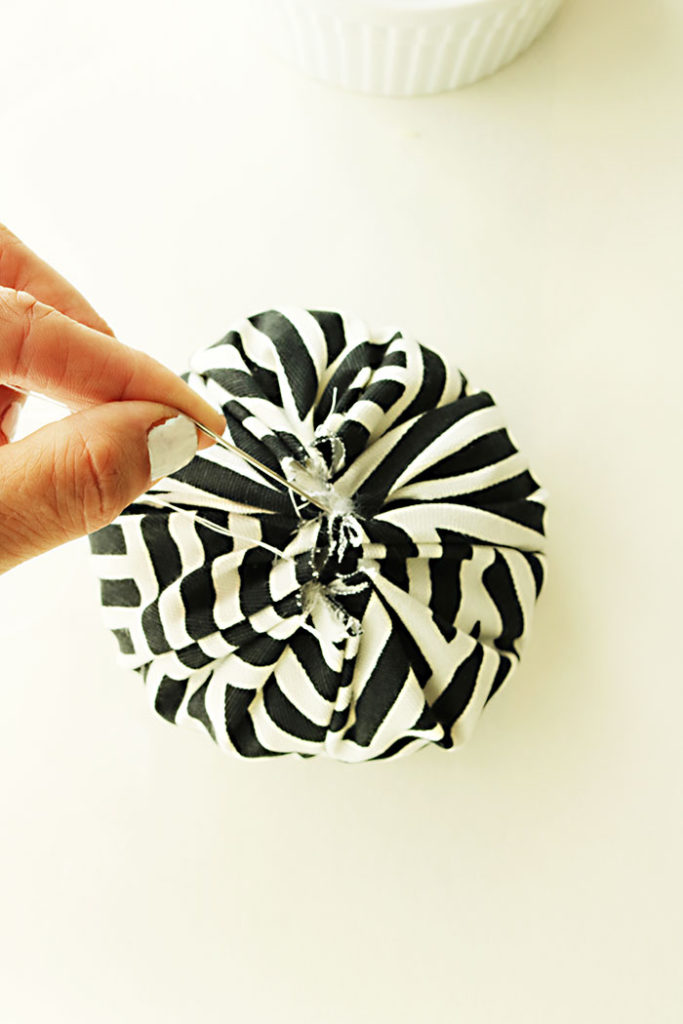
6. Once filled, pull the thread and needle tightly together, closing up the end. Stitch the edges together, stitching back and forth until the end is tightly close. Then tight a knot in the thread, but don’t cut the thread and needle off quite yet. If you want a round, plumper pumpkin, you are pretty much done and could cut the thread and needle off. But if you want more of an oval shaped pumpkin, follow the next two steps.
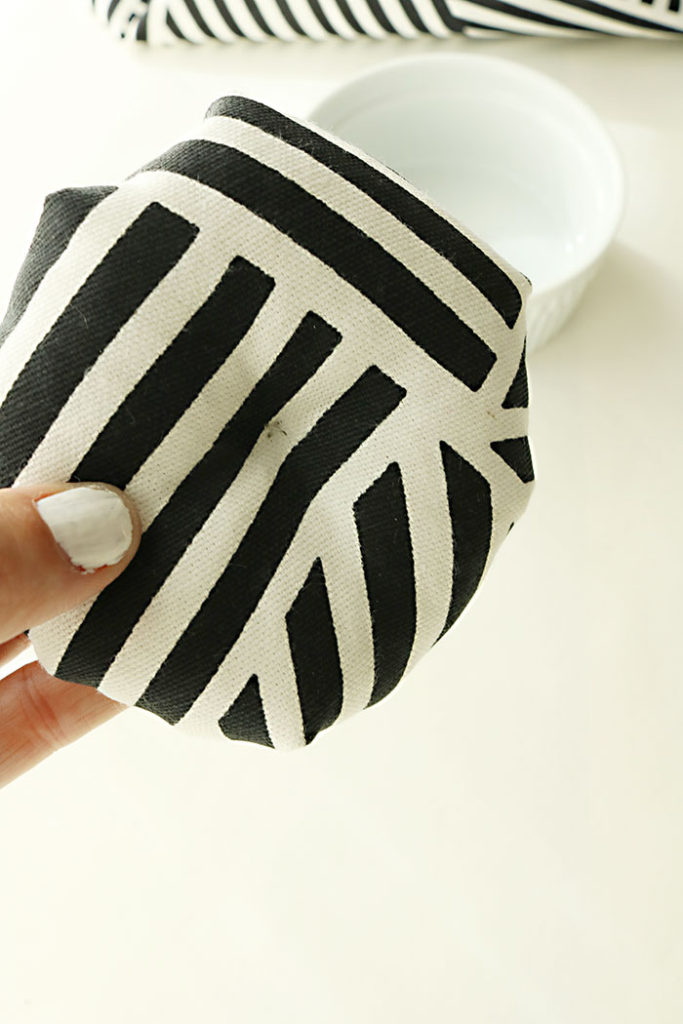
7. Take the remaining attached thread and needle and push the needle from the top of the pumpkin and thread to the bottom of the center part pumpkin. Pull through tightly so there is a depression in the center.
8. Go up and down a few times until you get the desired results. Then knot the thread and cut off the last of the thread and needle.
9. Then take your hot glue and glue on the pumpkin stem in the middle, holding in place until it sticks.
You are done! See how simple and easy that is creating these cute DIY fabric pumpkin? You can make a whole little pumpkin family in just a few minutes.


Here are some other fabric and velvet pumpkins:


The post DIY Fabric Pumpkin appeared first on Darling Darleen | A Lifestyle Design Blog.
